フォームを追加する
Excel VBA の画面を作成します。
Ecel VBA では、画面なしのバッチ処理を行う場合も多いのですが、ここでは入出用のフォーム画面を作ることにします。
まずは、ベースとなるフォームを作成していきましょう。
Excel VBA でフォームを表示する
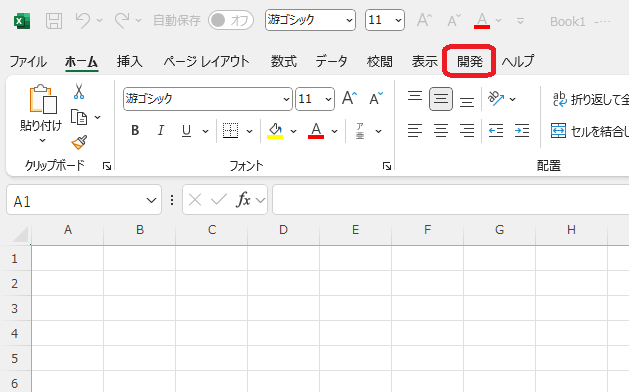
「開発」をクリックします。
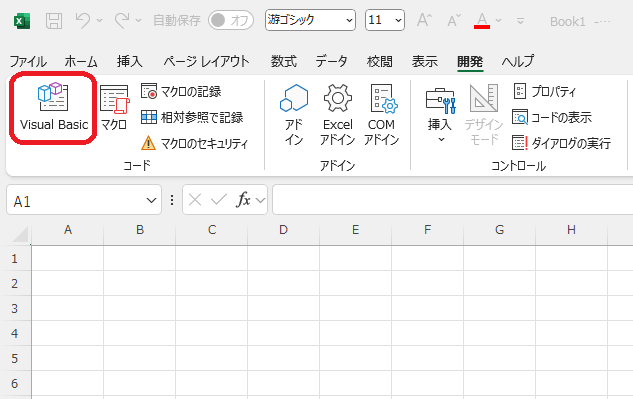
「開発」タブから、「Visual Basic」をクリックします。
「ユーザーフォームの挿入」をクリックします。
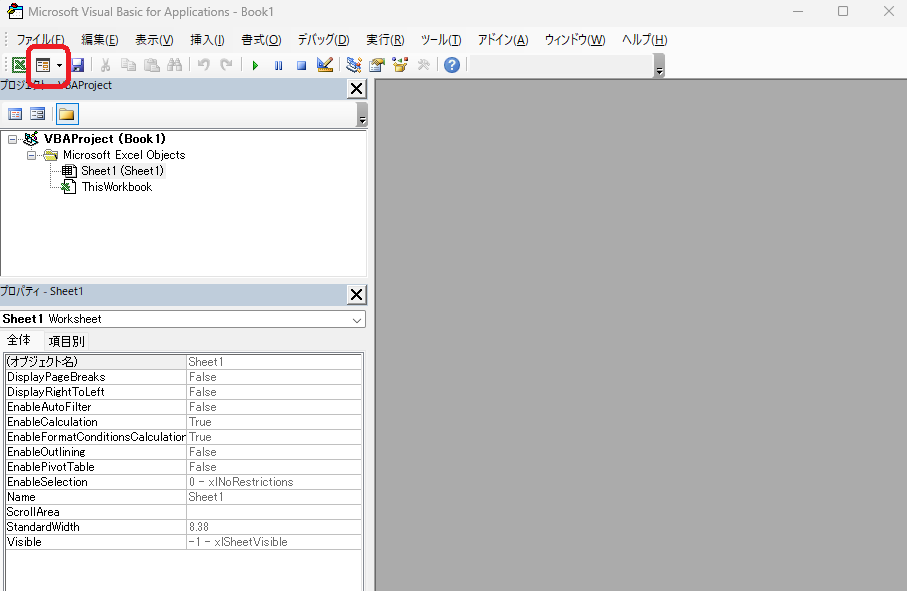
画面上に、ユーザーフォームが表示されました。
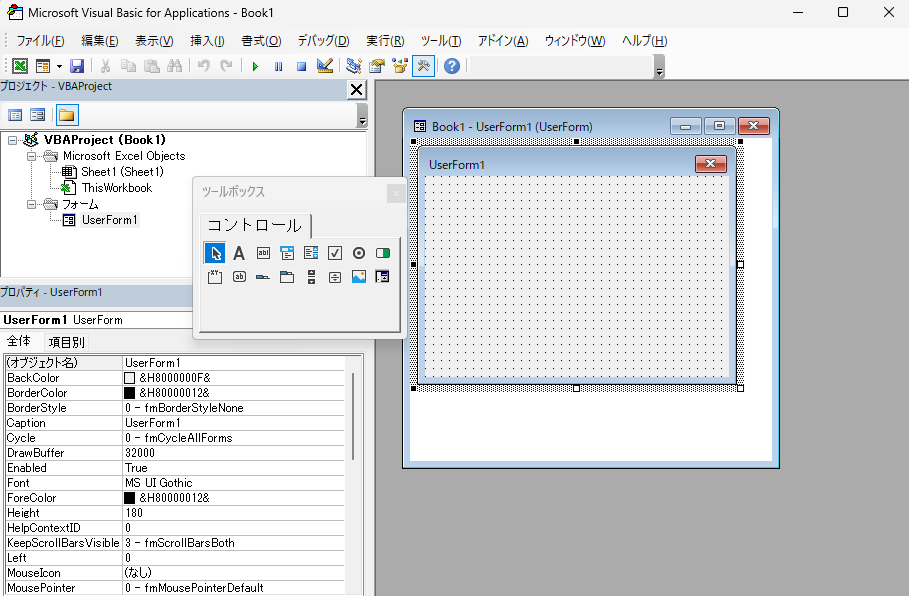
このフォームの上にコントロールを載せていきます。
Excel VBA でフォームを動かす
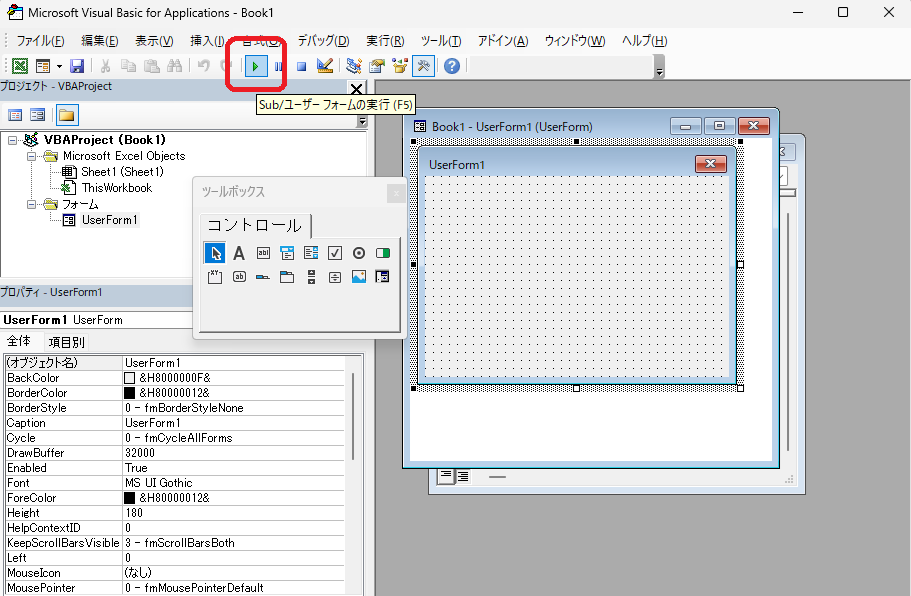
空の状態ですが、動かしてみましょう。
画面上部のリボン下にある実行ボタンをクリックします。
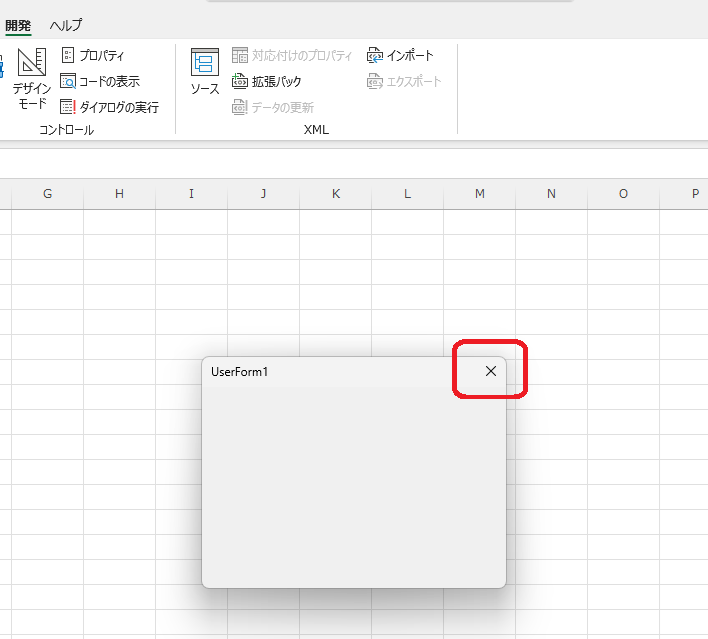
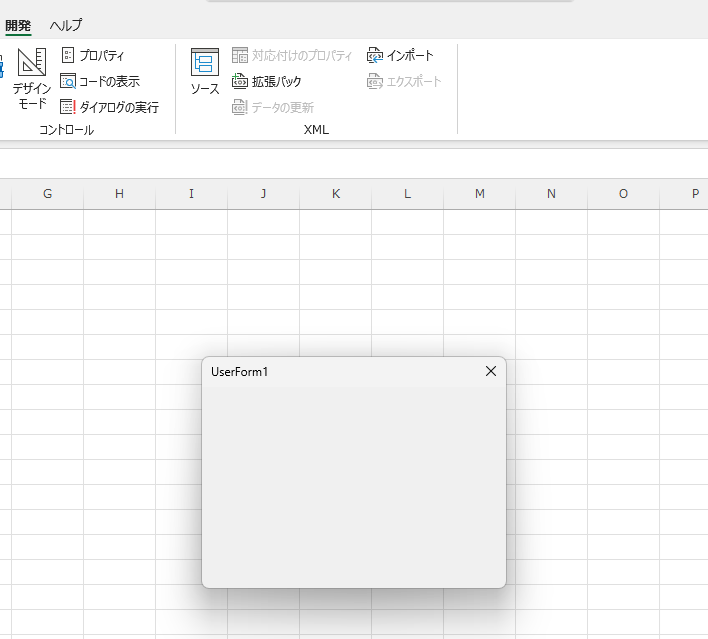
フォームが表示されます。
コントロールがなのも設定していないので空の状態です。
Excel VBA でフォームを終了する
終了するためには、ダイヤログ右上の X をクリックします。
もしくは、プログラム開始ボタンの2つ右側の停止ボタンをクリックしても終了します。